This week the challenge was to use white space, one photo and bling. Used my new Rusty Hinge distress ink as well, which works beautifully on giraffes.
Wednesday, 16 March 2011
Melman at the London Eye
I have a new laptop, it doesn't have Paint Shop Pro on it yet and if I can't find the disk it never will! Anyway, I now have to edit my layouts using Paint (which is a lot funkier on Windows 7 than on my old laptop), Picasa and Picnik. I think that will probably do for now.

This week the challenge was to use white space, one photo and bling. Used my new Rusty Hinge distress ink as well, which works beautifully on giraffes.
Labels:
Coredinations,
Crate Paper - Static,
Embossing,
Melman,
ProMarkers,
Stamping,
Weekly Challenge
Saturday, 12 March 2011
Retreat Layouts 4
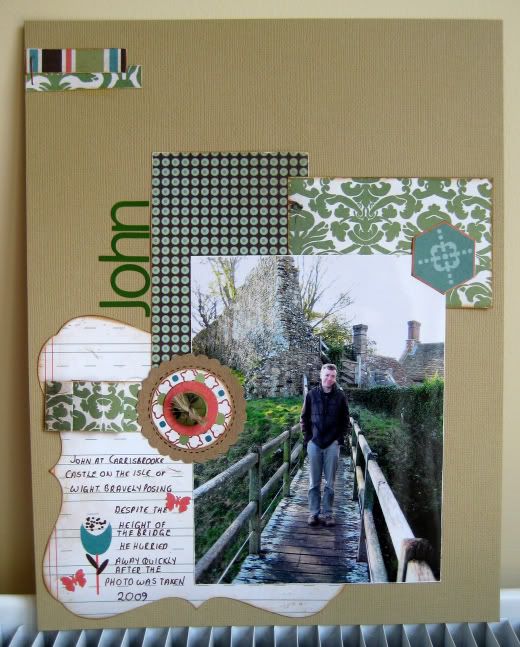
Finally, the using up of Lily Bee - Vintage Poppy. This is the very last of my final Sarah's Cards kit from last year. I mainly scrapped our Isle of Wight holiday with the kit, so chose some more pictures from that trip to use with these scraps.
John being brave on a high wooden bridge.
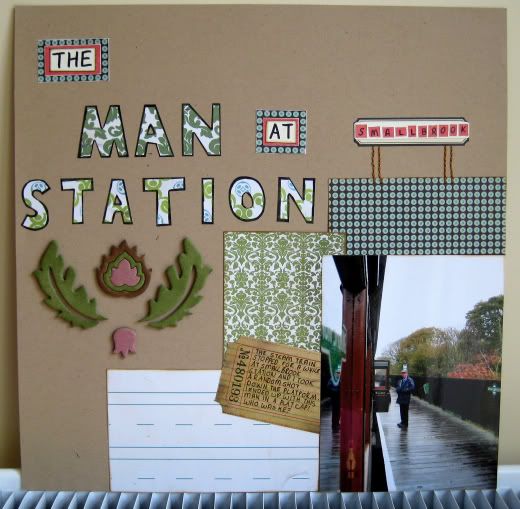
Another case of what was in my head not coming together on paper. I was goingfor something a little more like the Edinburgh Castle layout I made in June, but it's failed rather badly. I might have to add something to it later when I'm feeling more inspired.
After these two layouts I had planned on using up some of the gorgeous Up, Up and Away by Kaisercraft, but my mojo and ability to sit failed me. So I prepped some baby pages for Frankie's arrival. I managed six (I think) and will take their pictures in the future when they're finally complete.
Retreat Layouts 3
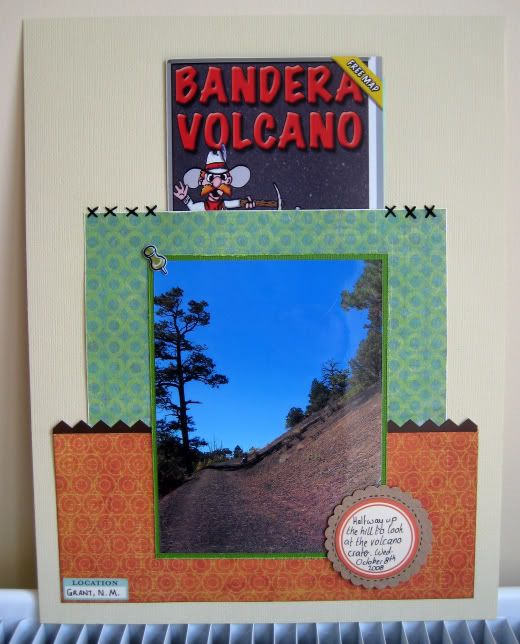
Oh yes, even more Road Trip! Although, to be fair, as the plan was to use up scraps and most of my scraps are Road Trip related, it's hardly a surprise.
This time I'm using up MME - Breaking Free.
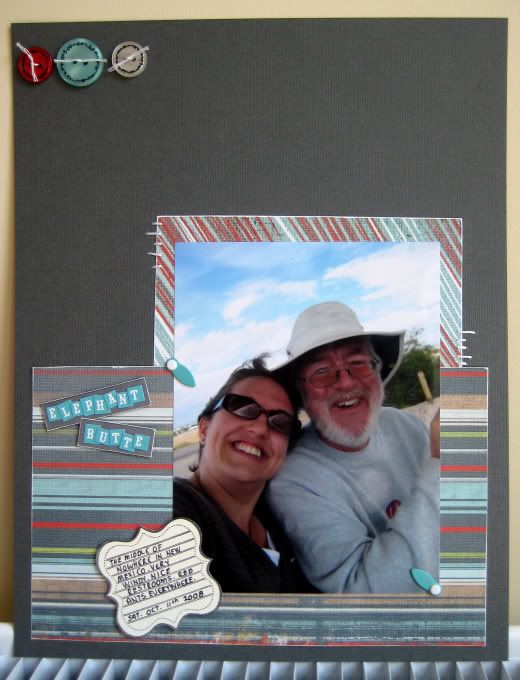
The extremely windy Elephant Butte! Managed to use the planned butons this time... and Sue's mini alphas. Thank you Sue. :)
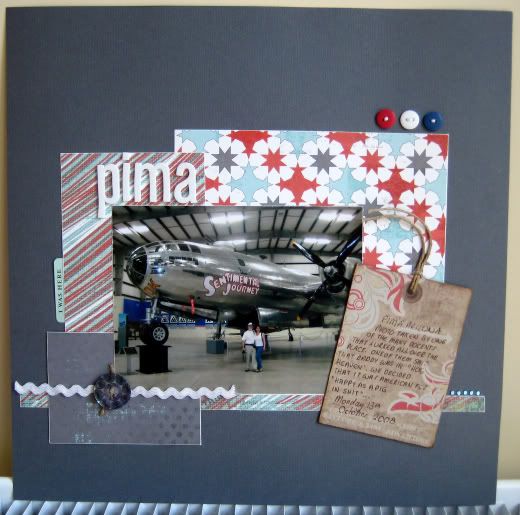
Pima. The tour guide made us have this photo taken.
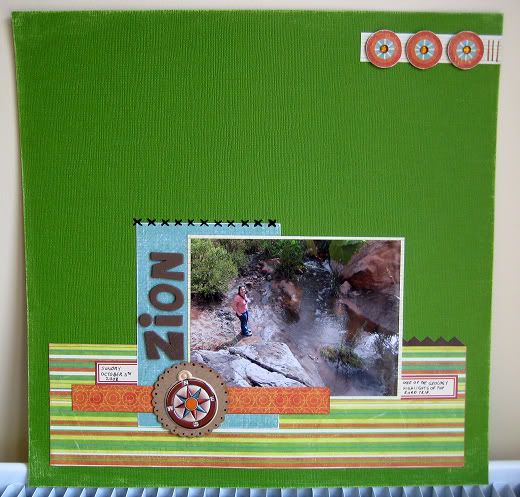
This time I'm using up MME - Breaking Free.
Retreat Layouts 2
My next pre-prepped kit was MME - Round and Round to get some more of my never-ending supply of Road Trip pictures scrapped.

A bit basic, but does the job. I'd planned all sorts of things with buttons before I came away and then totally went off the idea. All the buttons returned home with me!
This was an attempt to include some tourist information leaflets. I'd dragged so many home from America only to leave them in a folder and never look at them. Again, this is a bit on the basic side, but my excuse is that I just couldn't sit fussing over it for too long before having to get up and sit on the recliner in the sitting room! In fact, I did the stitching in there. Annoying puffy feet.
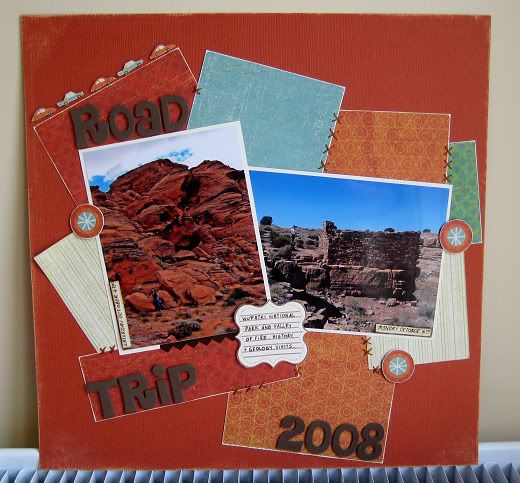
All the final pieces of Round and Round gathered together and plopped down! I'm pretty fond of this one and I even did some fiddly cutting out.
A bit basic, but does the job. I'd planned all sorts of things with buttons before I came away and then totally went off the idea. All the buttons returned home with me!
Retreat Layouts 1
My plan for the Retreat this year was to only take offcuts of my old papers, do a bit of pre-Retreat planning, add some embellies and create my own mini kits. It worked to a certain extent. I did get bits used up, but between the planning and executing stages I changed my mind about how I wanted things to come together. Unfortunately, by that point, all my stuff was at home and I was in deepest, darkest Olney! Never mind!
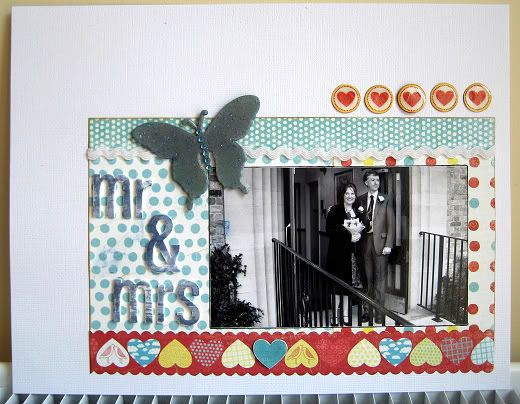
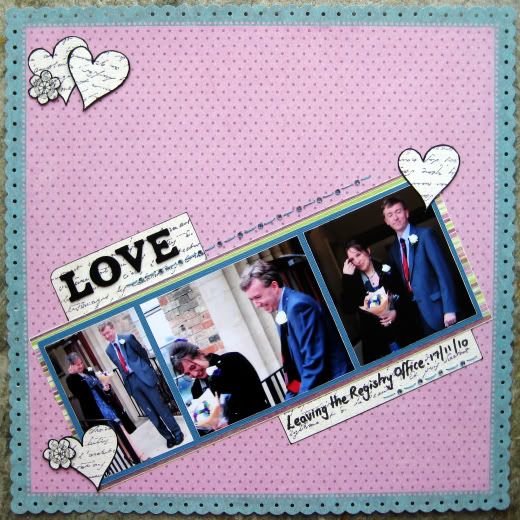
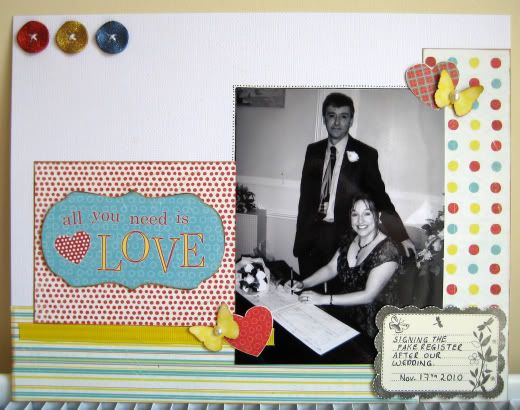
Two wedding layouts using MME - Love Me Do.

I prepped the butterfly at home using Faded Jeans ink, Faded Jeans stickles and GA. I then buggered up the layout by using my new Chipped Sapphire ink on the title after I'd stuck it down. I managed to ink the alpha, the paper, the butterfly AND the photo.
Luckily, I've not played with the photos so it doesn't show up too badly! Actually, neither of these came together exactly as I'd hoped.
Two wedding layouts using MME - Love Me Do.
Luckily, I've not played with the photos so it doesn't show up too badly! Actually, neither of these came together exactly as I'd hoped.
Labels:
8.5 x 11',
Distress Ink,
Glossy Accents,
John,
MME - Love Me Do,
Stamping,
Stickles,
Wedding
March Week 1 - Spring Retreat
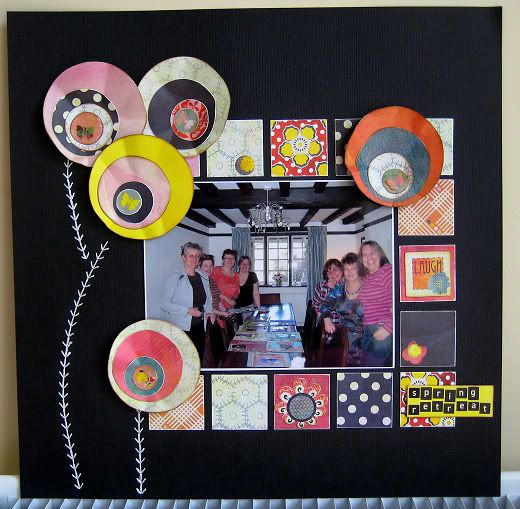
I managed to scrap this photo of our first retreat whilst on our second retreat. The challenge arrived just at the right time, I'd taken lots of offcuts of Junebug with me and had planned to piece them altogether in a mosaicy / quilty way. This just meant it was given some structure.

I now realise that I need a square punch (thank you Susi!) and a Sew Easy (thank you Sue!), but this is no time to be indulging in new stash... or is it? The excessive use of GA doesn't show up in the picture, it's a lot shinier in real life.
Anyway, Spring in the title, scrunched flowers, a splash of yellow and squares. All included.
Labels:
Basic Grey - Junebug,
Bijoux Belles,
Glossy Accents,
Retreat,
Sew Easy
Scrap Map Saturday ~ Springtime
This week at Creative Craft World the Scrap Map Saturday theme is "spring / seasons".
Thought at first it might be a problem as I didn't seem to have many pictures from Spring (or autumn, or winter...), certainly not eight of them! I don't have photo printing capabilities at home, I always send them out to be printed, so my photos are always sized at whatever options I'm allowed on Photobox.
Then it occurred to me that, obviously, sketches are jumping off points, they're for kick starting your mojo and sending it off to scrap. My mojo came up with this:
I cut one photo into six pieces, displaced them a little and filled the gaps with daisies and my journalling. Also made my own background with Distress Inks (mustard seed, peeled paint & faded jeans) and a Maya Road butterfly sheer sheet.
Once I'd done that I didn't want to cover up my background any more than I had to, so I added a teeny title.
Then I had to go away and play with the Sheer Sheet as I'd not used it before and it's FUN!
Labels:
8.5 x 11',
Adornit,
Creative Craft World,
Distress Ink,
Maya Road,
MME - Bloom n Grow,
Prima
Friday, 11 March 2011
Retreat Classes
Thought I should at least get one entry up tonight about Retreat #2 before my muscles decide I can't sit here any longer! So, I'm starting with the classes that we took with Sandie Vincent last Saturday. I've not played about in PSP trying to sort them all out, quite frankly, my arse cannot be arsed!

I used pictures of Baby Me for the first class, desaturated so that they (hopefully) match the paper a little better.

Again with the Baby Me pictures!
I then became overwhelmed and exhausted. Making a little person is quite tiring and upsets your insides. Anyway, I didn't do the final class when everyone else did. I was guided through it later that evening when I was feeling a lot better. This is the result:

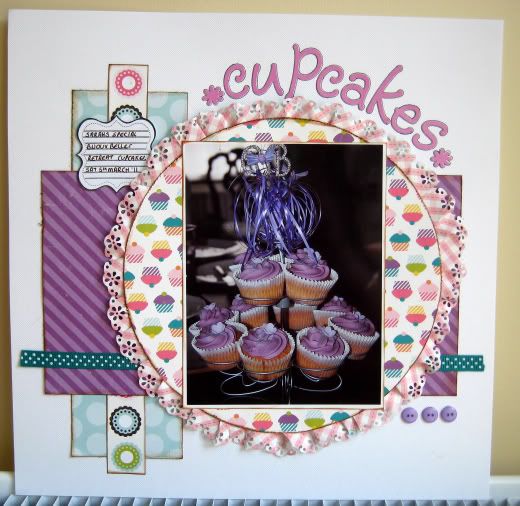
I had another Baby Me picture all ready for this one as well, but in my absence from class, Jen printed out these fab pictures of the Bijoux Belles cupcakes that Sarah had made for us. Quite a few of the others used this picture too and it matches the papers a lot better than my original choice would've, so yay!
The classes were great fun. I learnt some new skills and all the paper ranges were ones I'd never come across before and probably would never have considered buying. Being outside the comfort zone was a new experience as I'd not taken scrapping classes before.
{Nikki Sivills - Sweet Cherry Pie}
I used pictures of Baby Me for the first class, desaturated so that they (hopefully) match the paper a little better.
{Fancy Pants - Love Birds}
Again with the Baby Me pictures!
I then became overwhelmed and exhausted. Making a little person is quite tiring and upsets your insides. Anyway, I didn't do the final class when everyone else did. I was guided through it later that evening when I was feeling a lot better. This is the result:
{Echo Park - Little Girl}
I had another Baby Me picture all ready for this one as well, but in my absence from class, Jen printed out these fab pictures of the Bijoux Belles cupcakes that Sarah had made for us. Quite a few of the others used this picture too and it matches the papers a lot better than my original choice would've, so yay!
The classes were great fun. I learnt some new skills and all the paper ranges were ones I'd never come across before and probably would never have considered buying. Being outside the comfort zone was a new experience as I'd not taken scrapping classes before.
Saturday, 5 March 2011
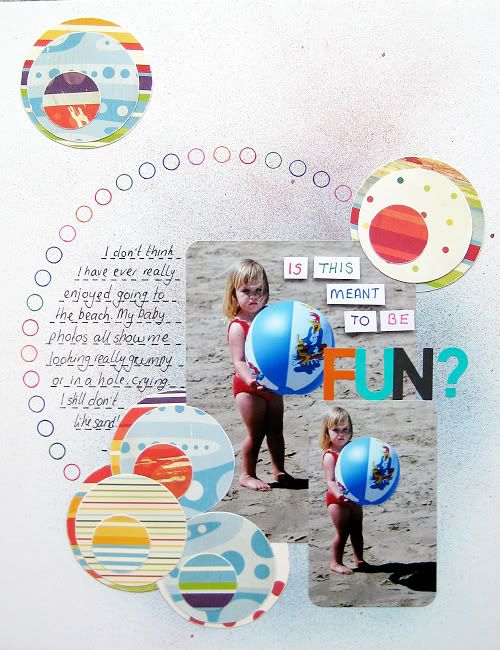
Scrap Map Saturday ~ Fun?
My first layout as a Guest Design Team member for Creative Craft World - and I choose to scrap a picture of me in a bikini!!
The theme this week is 'circles'.


Oh yes, don't I look miserable! I never really grasped why going to beach is a fun thing to do. Sand gets everywhere. Of course, now I go to the beach, turn my back to sea and study the geology of the cliffs. Much more fun than beachballs. Although, I suppose I'll have to take my baby to the beach at some point. Maybe I'll suddenly discover the fun?
This is the very last of my Cosmo Cricket Snorkel paper, had so little that I punched the smaller circles from the larger ones and teamed it up with Cosmo Cricket Garden Variety to make it go further.
I Distress Inked the background with Broken China and Faded Jeans, then Glimmer Misted over the top. Still a bit of a newbie when it comes to Misting, but I'm pretty happy with how this came out. Doodled on the circles (yes, I cheated and used a Template!) and the journalling lines.
The theme this week is 'circles'.

Oh yes, don't I look miserable! I never really grasped why going to beach is a fun thing to do. Sand gets everywhere. Of course, now I go to the beach, turn my back to sea and study the geology of the cliffs. Much more fun than beachballs. Although, I suppose I'll have to take my baby to the beach at some point. Maybe I'll suddenly discover the fun?
This is the very last of my Cosmo Cricket Snorkel paper, had so little that I punched the smaller circles from the larger ones and teamed it up with Cosmo Cricket Garden Variety to make it go further.
I Distress Inked the background with Broken China and Faded Jeans, then Glimmer Misted over the top. Still a bit of a newbie when it comes to Misting, but I'm pretty happy with how this came out. Doodled on the circles (yes, I cheated and used a Template!) and the journalling lines.
Saturday, 26 February 2011
Scrap Map Saturday ~ Love
The theme this week was diagonals. I had what I thought was a good idea... and then I became a little side-tracked and forgot what I had planned to do.
I used my new Artemio stamps that I bought in Paris at the beginning of the month and then was going to stamp the hearts so that the text was diagonal inside the hearts... as you can see, that didn't happen. Still, once the hearts are stuck on at jaunty angles the text is diagonal to the page, so it sorta worked!

These were some of the wedding photos that I'd a hard time deciding how to scrap. They're either a bit fuzzy, or there was too much background or we're pulling funny faces. Trimmed down and grouped together like this I think they actually work. Perhaps there's something to be said for multiple photo layouts?!
Oh, and I seem to be the Guest Design Team member for March *blush* - thank you Creative Craft World!
I used my new Artemio stamps that I bought in Paris at the beginning of the month and then was going to stamp the hearts so that the text was diagonal inside the hearts... as you can see, that didn't happen. Still, once the hearts are stuck on at jaunty angles the text is diagonal to the page, so it sorta worked!
These were some of the wedding photos that I'd a hard time deciding how to scrap. They're either a bit fuzzy, or there was too much background or we're pulling funny faces. Trimmed down and grouped together like this I think they actually work. Perhaps there's something to be said for multiple photo layouts?!
Oh, and I seem to be the Guest Design Team member for March *blush* - thank you Creative Craft World!
Thursday, 24 February 2011
Frankie
A couple of screen grabs from the 3D scan we had done on February 14th at Bourn Hall. He's right up against my wall with very little fluid, so he looks odd and squishy!

Tuesday, 22 February 2011
February Week 3
John drinking beer, painting the sash windows and in a box!
This is what you had to do this week:
1. We want you to scrap using primarily black and white - done
2. Use three pictures on your layout - done
3. Use a different single four letter word - done
February Week 2
The WC for last week. It was a close call getting it done as my Parentals had been visiting in the week and I almost forgot to do it. Still, that's what lazy pre-baby Sundays are for - scrapping! Getting it scrapped doesn't necessarily equate to getting it photographed, but here it is:

This week the instructions were as follows;
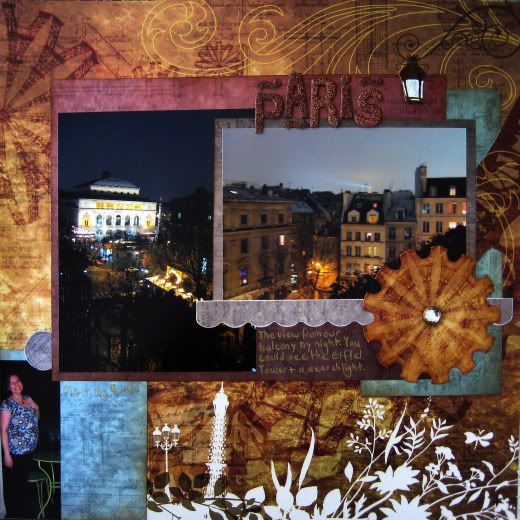
At least 3 pp's - done, I actually used four of my new Rouge de Garance papers.
Border punch - done
Multiple photos - done, using three pictures is quite a lot for me.
I love these papers and spent ages trying not to cover up some of the details that were underneath once the pics went down. So I did my usual trick of gutting the paper, which meant I could use the details of Eiffel Towers arranged into a cog as an embellishment. Also cut the paper so that the lamp showed up and the tower leg could overlap.
Used Glossy Accents on the lamp, but then John pointed out that the light should really be white, so I painted it. He was right, of course, looks much better white!
The photo on the right shows (sort of) the searchlight on top of the Eiffel Tower.
Monday, 21 February 2011
Sunday, 20 February 2011
Scrap Map Saturday ~ Our View
This week the challenge on the Creative Craft World Blog is to use chipboard on your layout.

I've used chipboard Thickers, a chipboard bracket and tag by Maya Road.
This is my first layout from our recent "second honeymoon" trip to Paris showing the views that we had from our balcony.
I bought the papers in Paris, first time using Rouge de Garance and these are from the gorgeous "Gustav" line featuring the Eiffel Tower and architectural plans of the Tower.
Labels:
Creative Craft World,
Distress Ink,
Maya Road,
Paris,
Rouge de Garance,
thickers
Subscribe to:
Posts (Atom)